Emergency Closure
The Emergency Closure feature allows Operations Staff to temporarily close a test center for a specified date and time period. Before submitting the closure, the system identifies candidates with existing appointments during the selected period so that the Operations Staff can review the impacted candidates.
View Emergency Closure
Follow these steps to view an existing emergency closure:
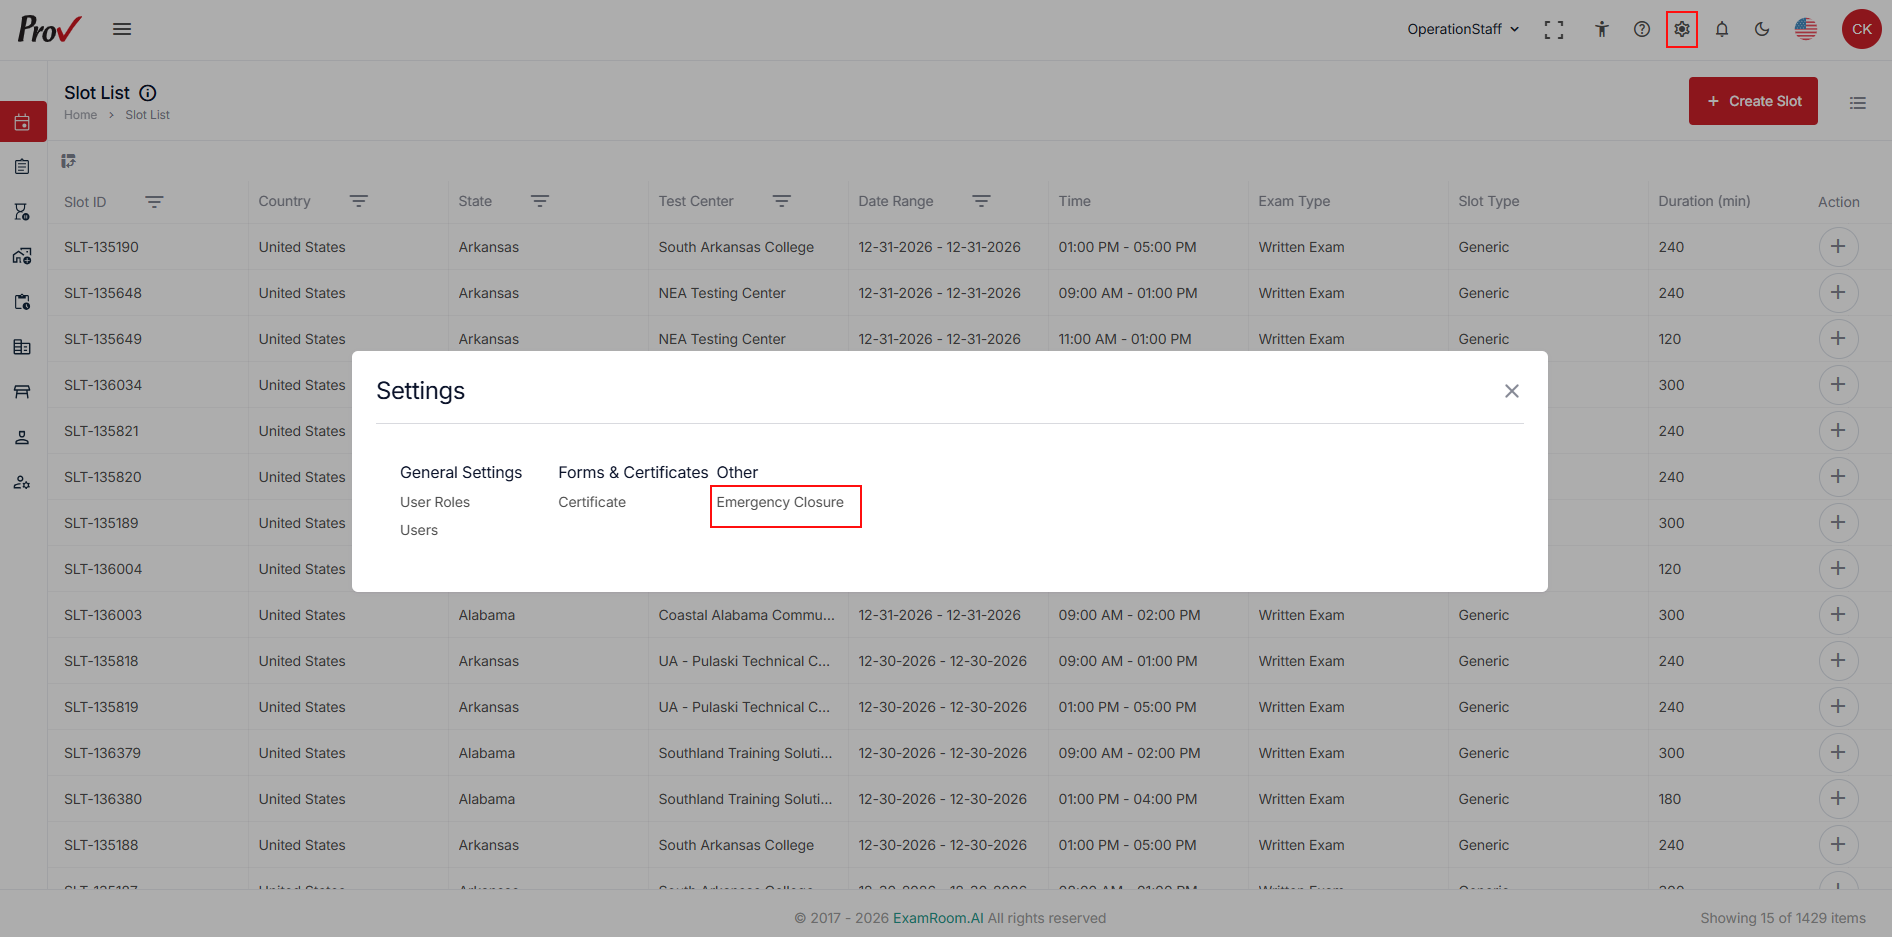
- Click the Settings icon in the top-right corner.
- Under Other, click Emergency Closure.
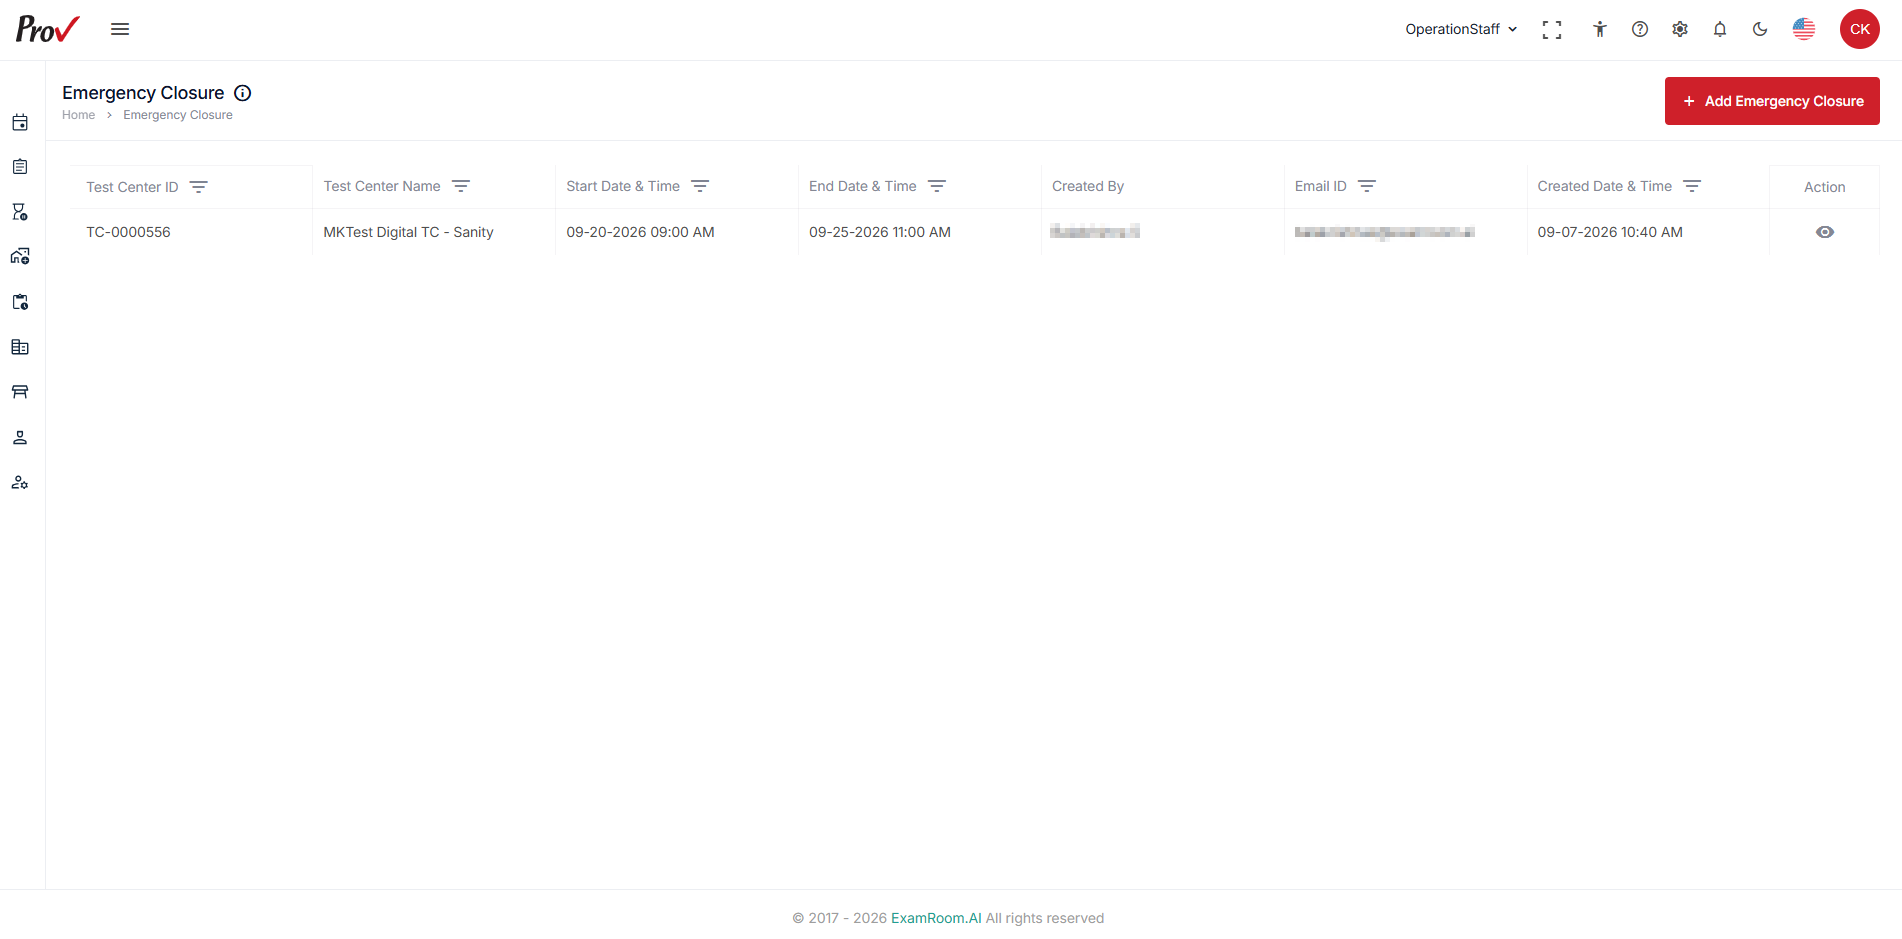
- The Emergency Closure page displays the existing emergency closure records.
- Review the closure information, including the Test Center ID, Test Center Name, Start Date & Time, End Date & Time, Created By, Email ID, and Created Date & Time.
- Click the View icon in the Action column to view the emergency closure details.
- The View Emergency Closure page displays the basic closure information and the candidates associated with the closure period.
- Click Export Data to export the displayed candidate information, if required.

Add Emergency Closure
Follow these steps to add an emergency closure:
- On the Emergency Closure page, click Add Emergency Closure.
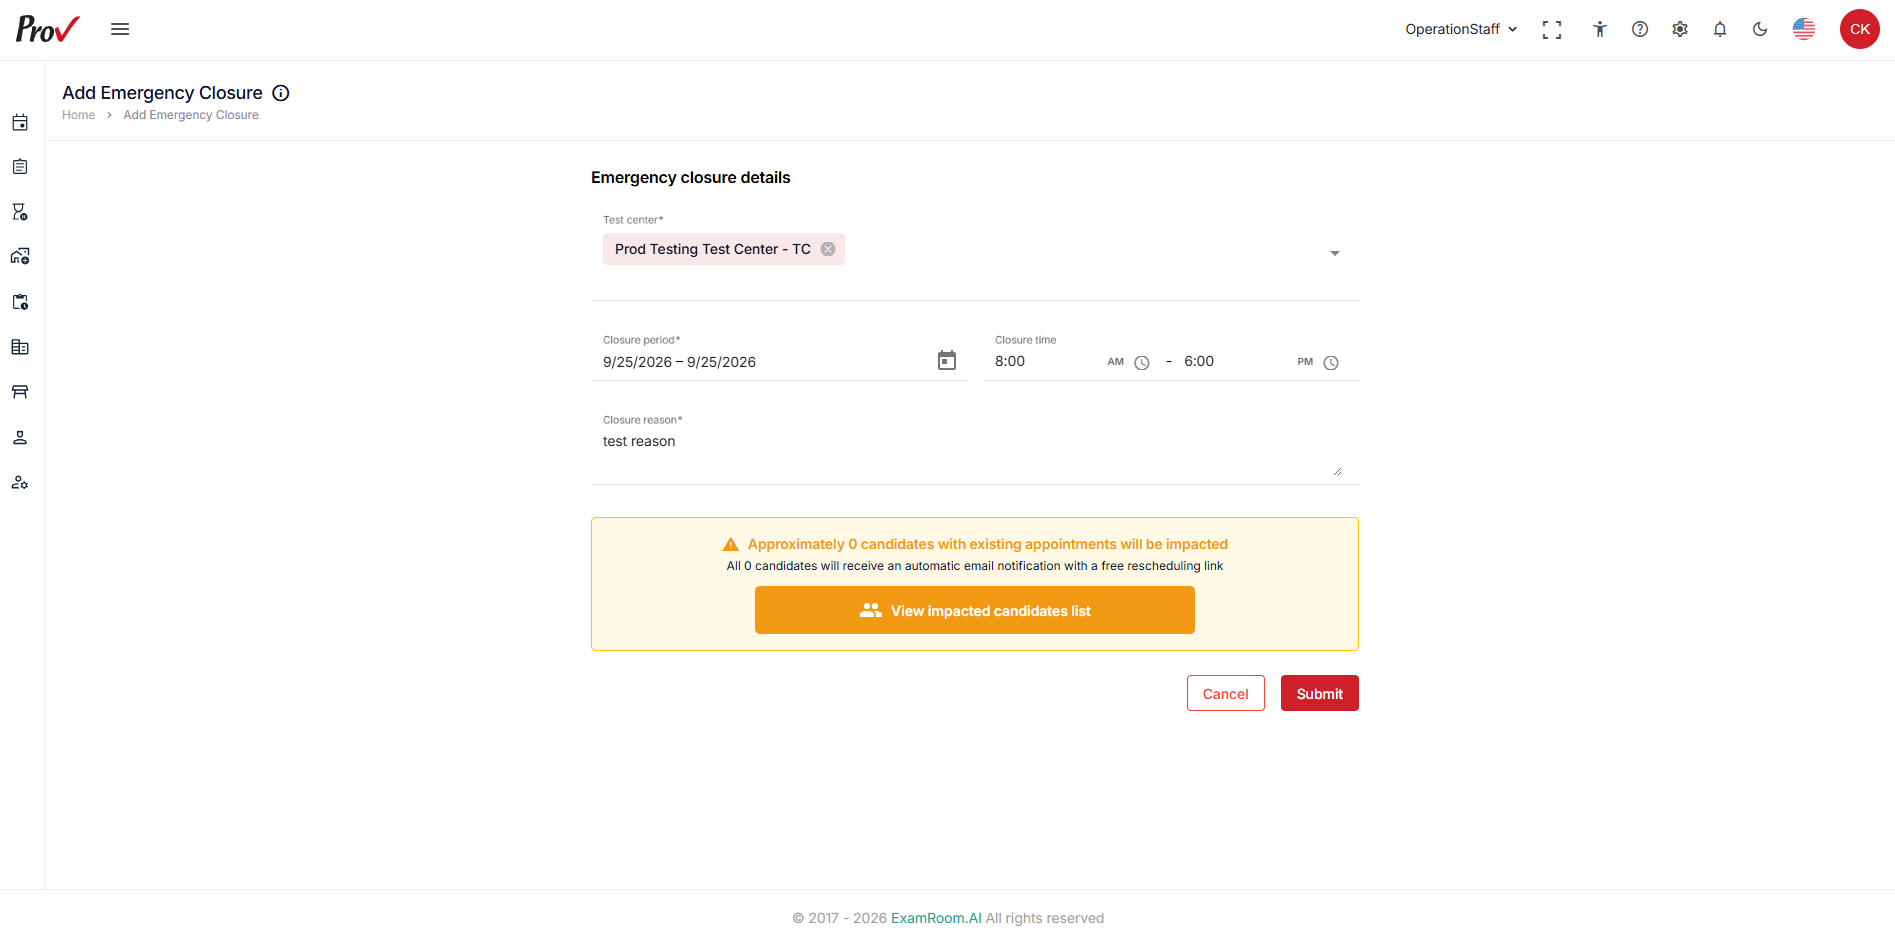
- On the Add Emergency Closure page, select the required Test Center.
- In the Closure period field, select the start and end dates for the closure.
- In the Closure time fields, specify the start and end times.
- In the Closure reason field, enter the reason for closing the test center.
- Click View impacted candidates list to review the candidates affected by the closure.
- The View impacted candidates window displays the available appointment and candidate information. Click Export Data to export the list, if required.
- Review the information:
- click Submit to create the emergency closure.
- click Cancel, to exit without creating the closure.