Test Center List
- Once submitted, the application form is sent to the operations team for review and can be viewed on the Test Center List tab.
- Operations teams will review the application form and act (approve, reject, and request a change) accordingly.
- If the application is approved, the audit process will be started.
View a Test Center
To view an existing Test Center, find it in the test center list and follow the instructions below:
- Click the View icon under the action tab to view the in-depth details of the test center and the status of the application.
- If the test center is under review, click View to see the status.
- If the test center is under review, click View to see the status.
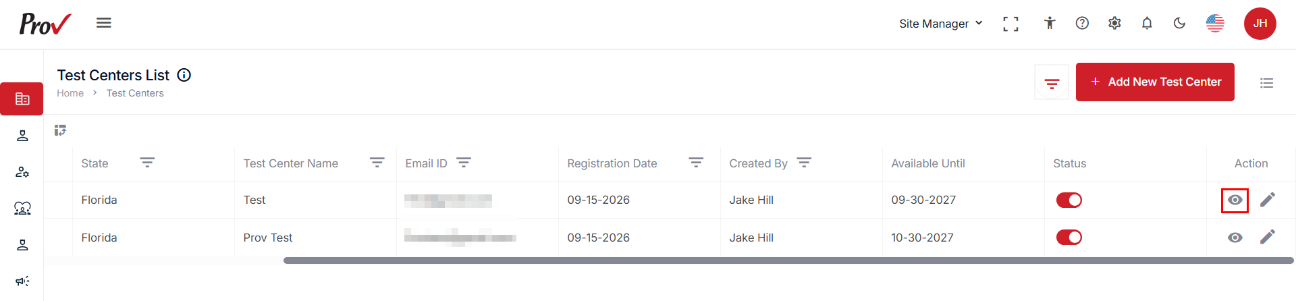
- In the Test Center Details, the site manager can view all the necessary information about the test center, such as:
- The Basic Information tab includes all the test center information.
- The Clients tab shows all the active clients that are associated(mapped) with the test center.
- The Exams tab shows all the exams booked.
- The Slots tab shows the available, booked, and unavailable slots at the test center.
- The Accommodation tab displays the available accommodation in the test center that can be availed for candidates.
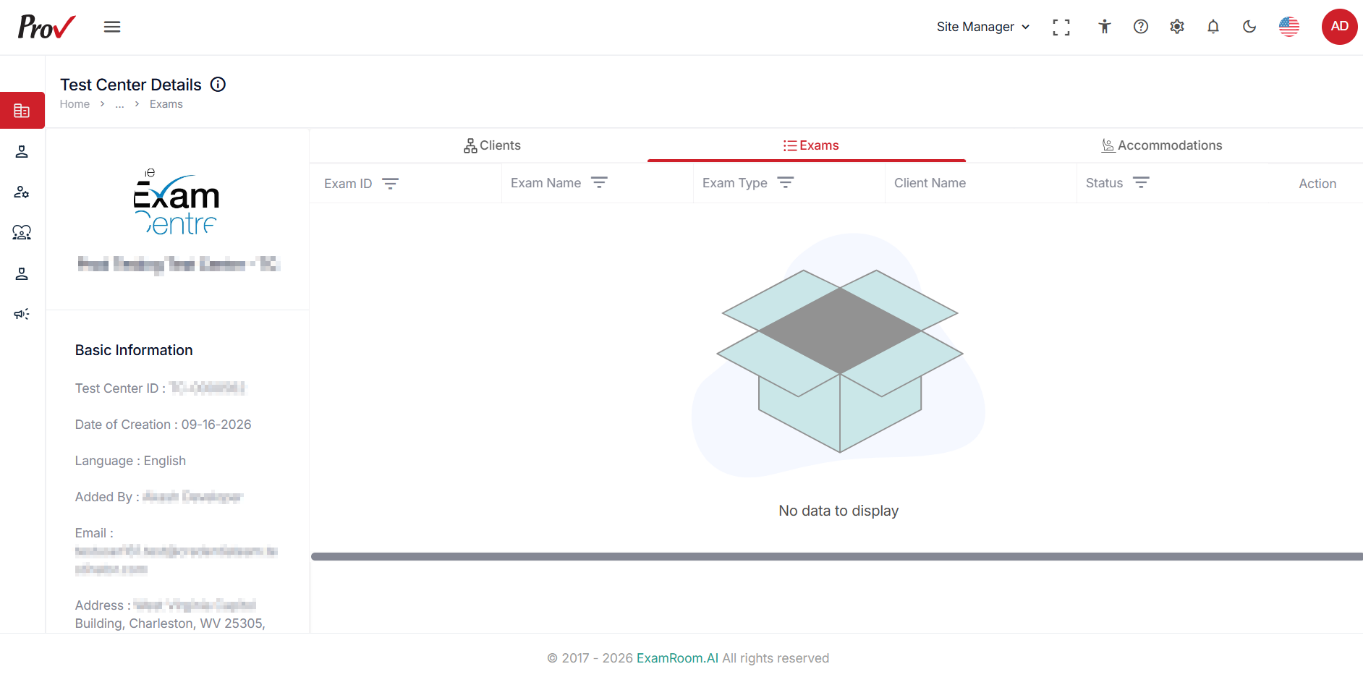
Clients
- Under the Clients tab, all the clients that are associated with test centers are visible
Note: Click the view icon under the action tab to redirect to Clients for in-depth details.
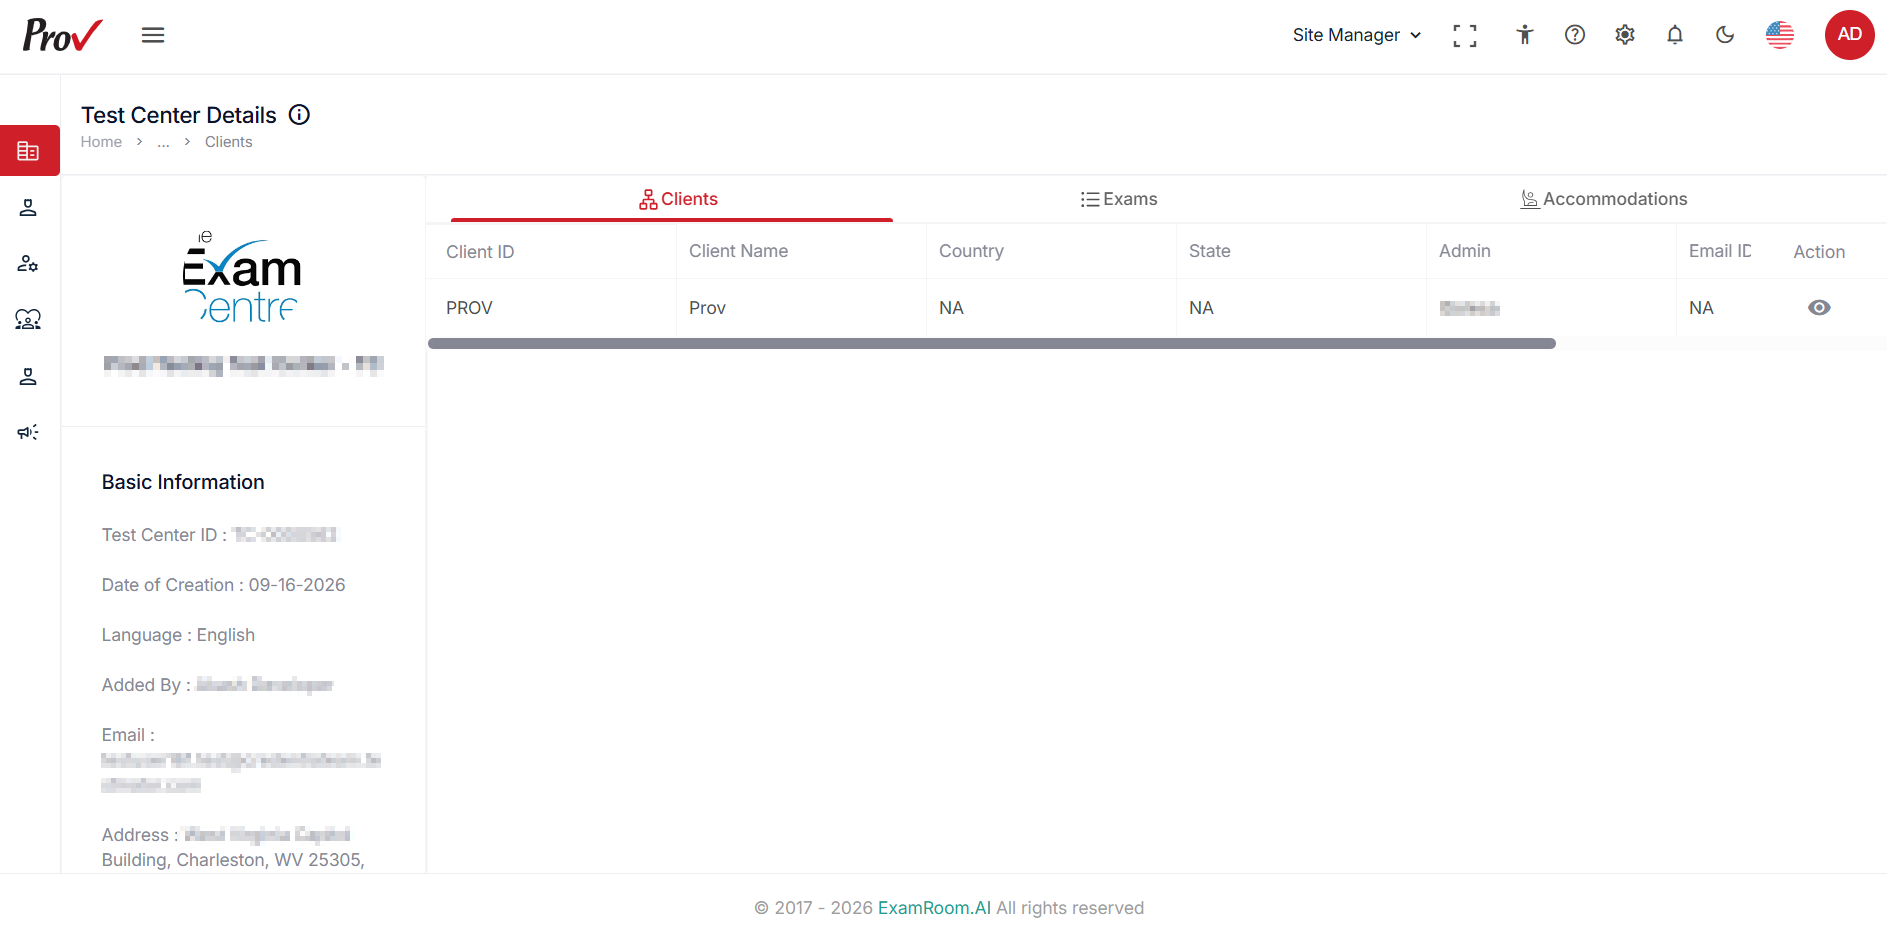
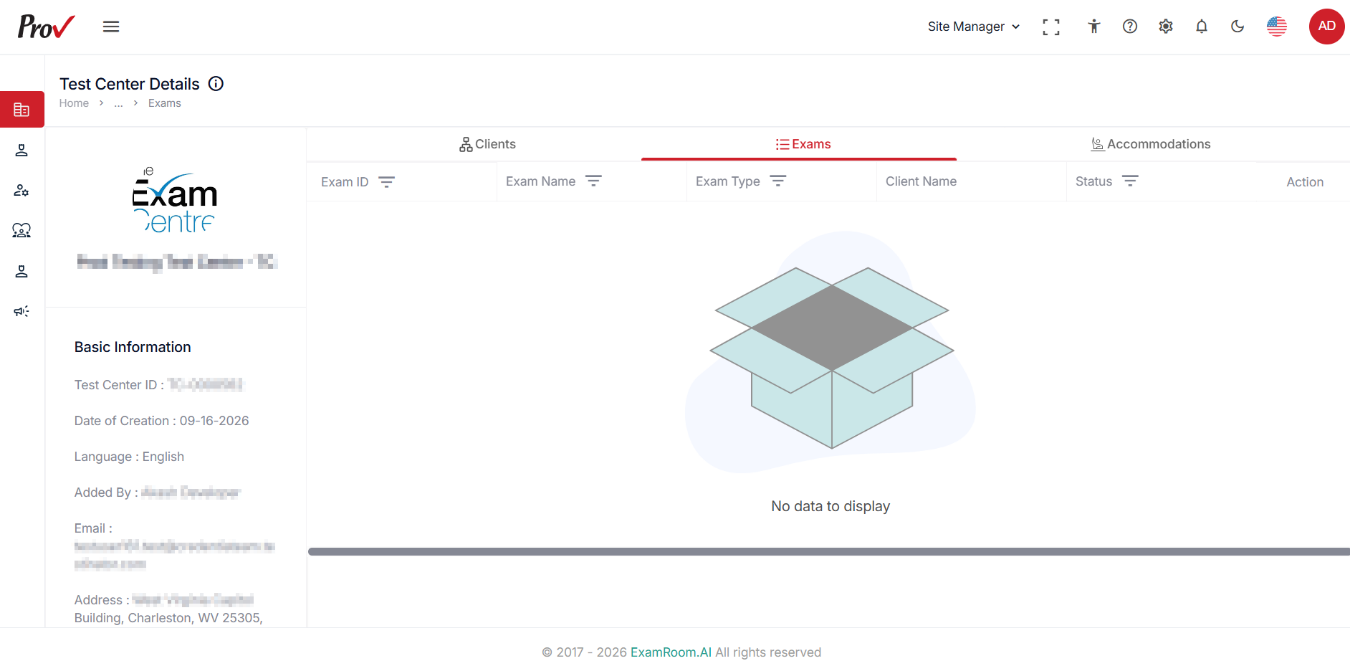
Exams
- Under the Exams tab, all the booked exams at the respective test centers are visible.
Note: Click the view icon under the action tab to redirect to the Exam List for in-depth exam details.
Edit or Update Test Center Availability
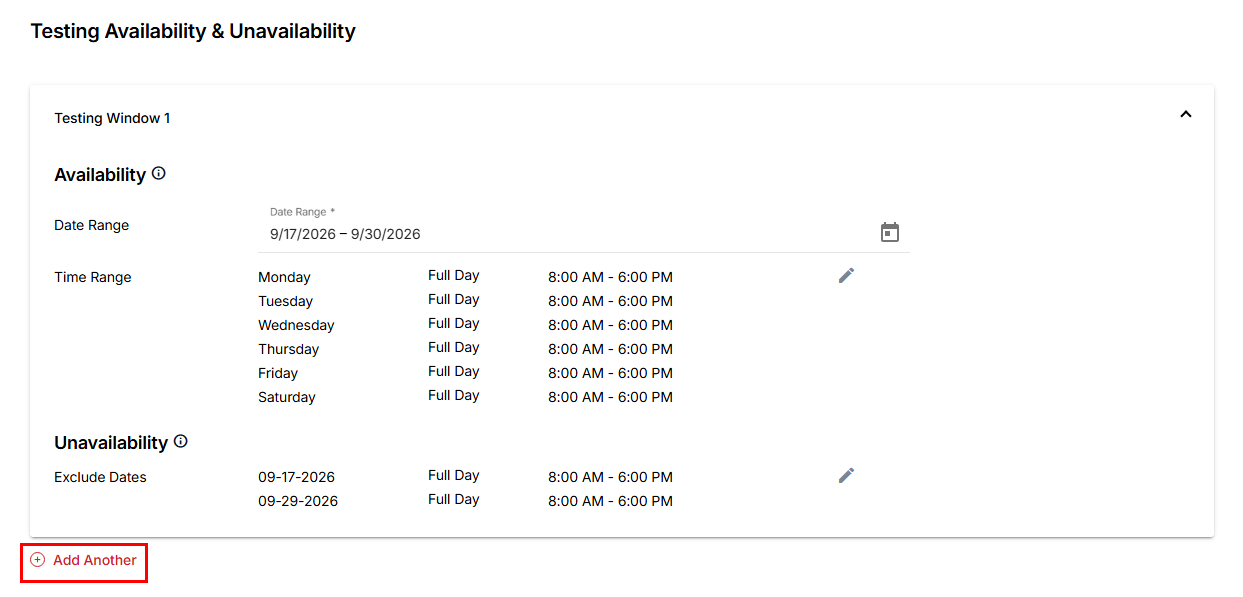
In the Additional Information section, you can modify required fields with the necessary details, including Testing Availability & Unavailability. In the Testing Availability & Unavailability section, you can specify the test center's operating date and Time Range and add unavailability details.
To modify or update the test center availability, follow the steps below:
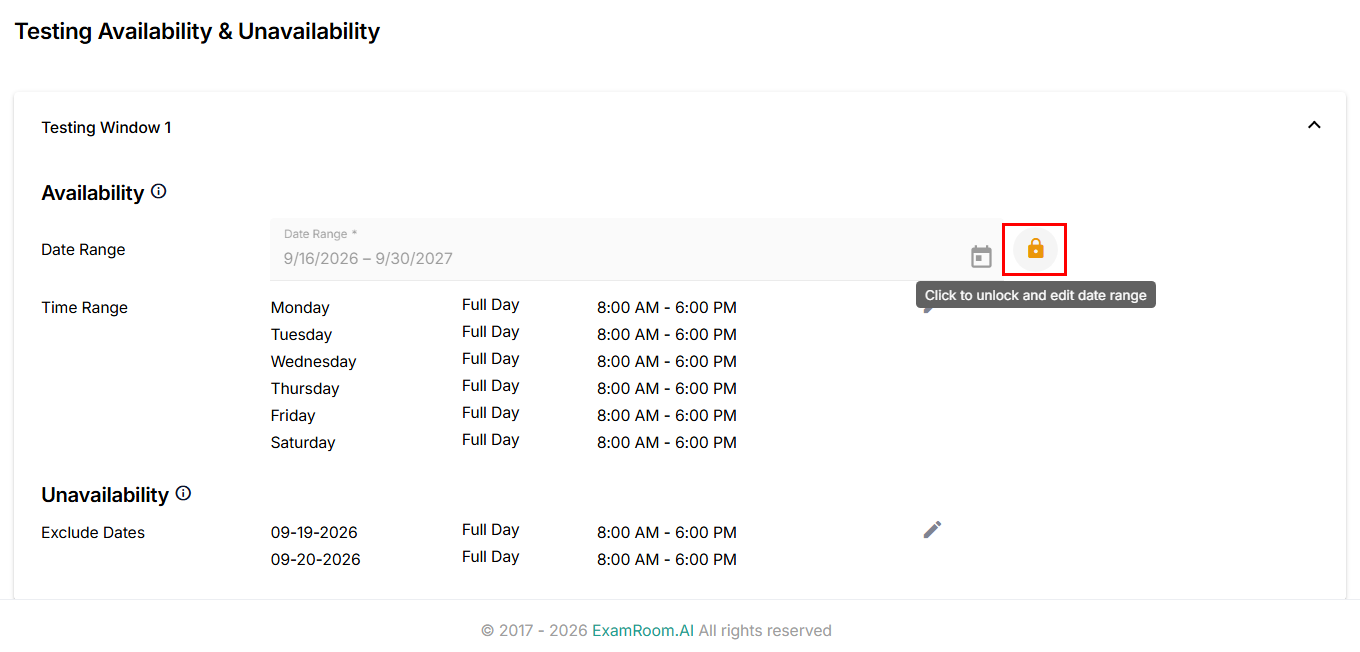
- Click the Testing Window 1 dropdown provided under Testing Availability & Unavailability.
- Click the Lock icon to unlock and modify the date range.
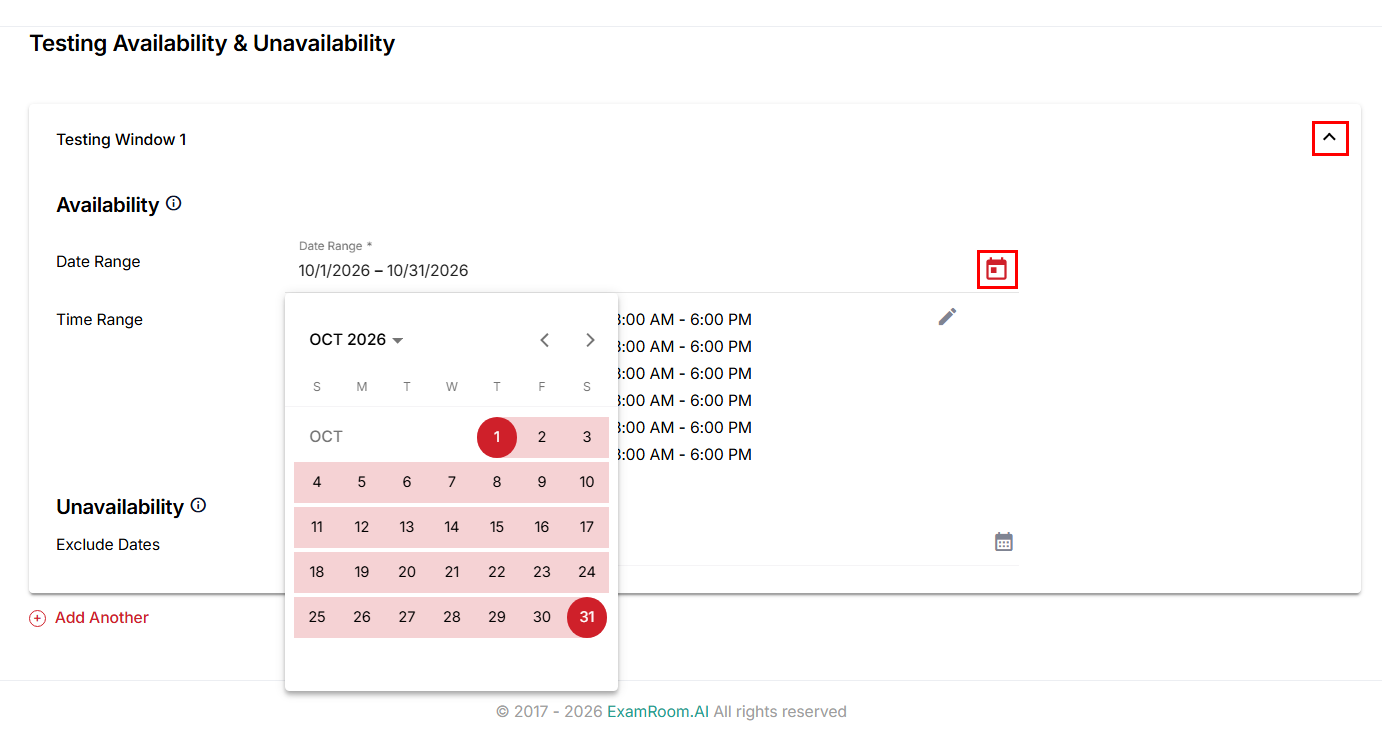
- Click the Date Range Calendar icon and choose the upcoming availability date range from the calendar.
Note:- You can exclude weekly off days when configuring the time range and mark any holiday dates as unavailable under unavailability.
- It is recommended to maintain testing availability for a minimum of 180 days in advance.
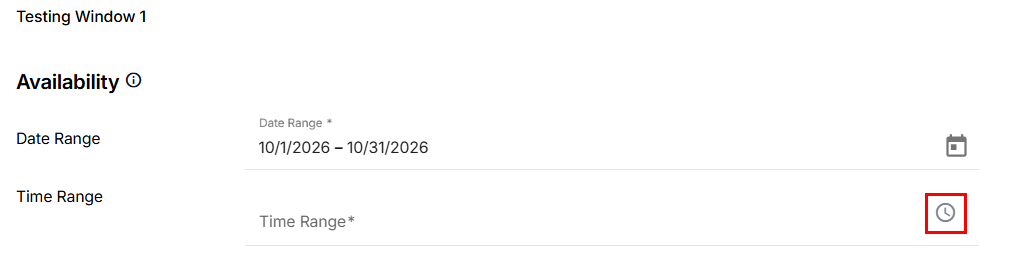
- Click the Time Range Clock icon and select the availability time range.
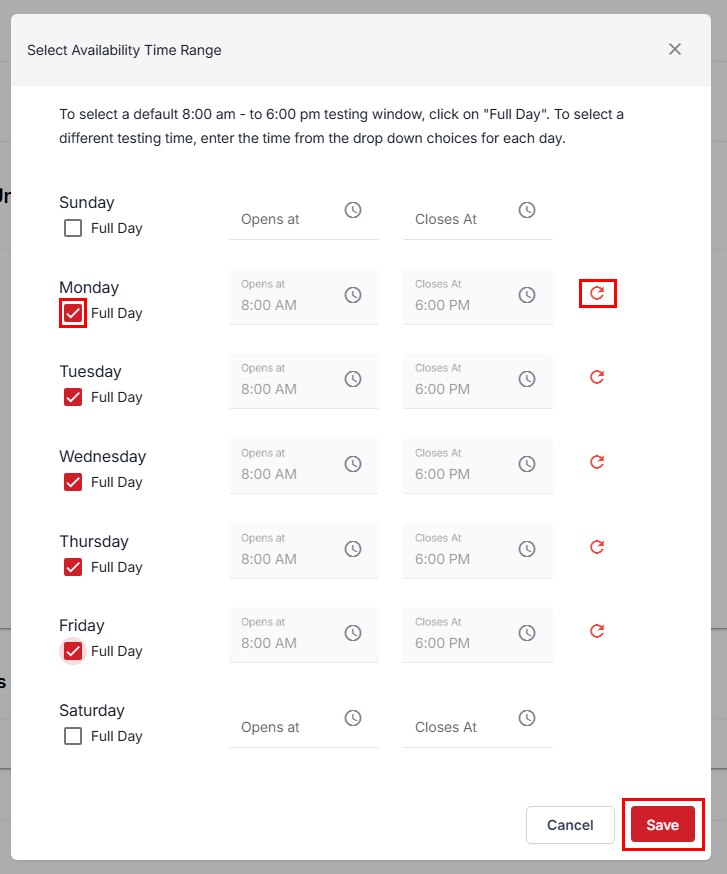
- Click the Checkbox to choose the default full-day testing window. To select a different testing time, choose from the drop-down options for each day. To exclude weekly days off, keep this option unchecked and do not specify any testing time ranges.
- Click Save after you have added the time range.
- Click Save after you have added the time range.
- Exclude Date option provided under Unavailability and choose the dates and times of any pre-planned closure of test center operations. You will be able to exclude dates within the specified availability date range.
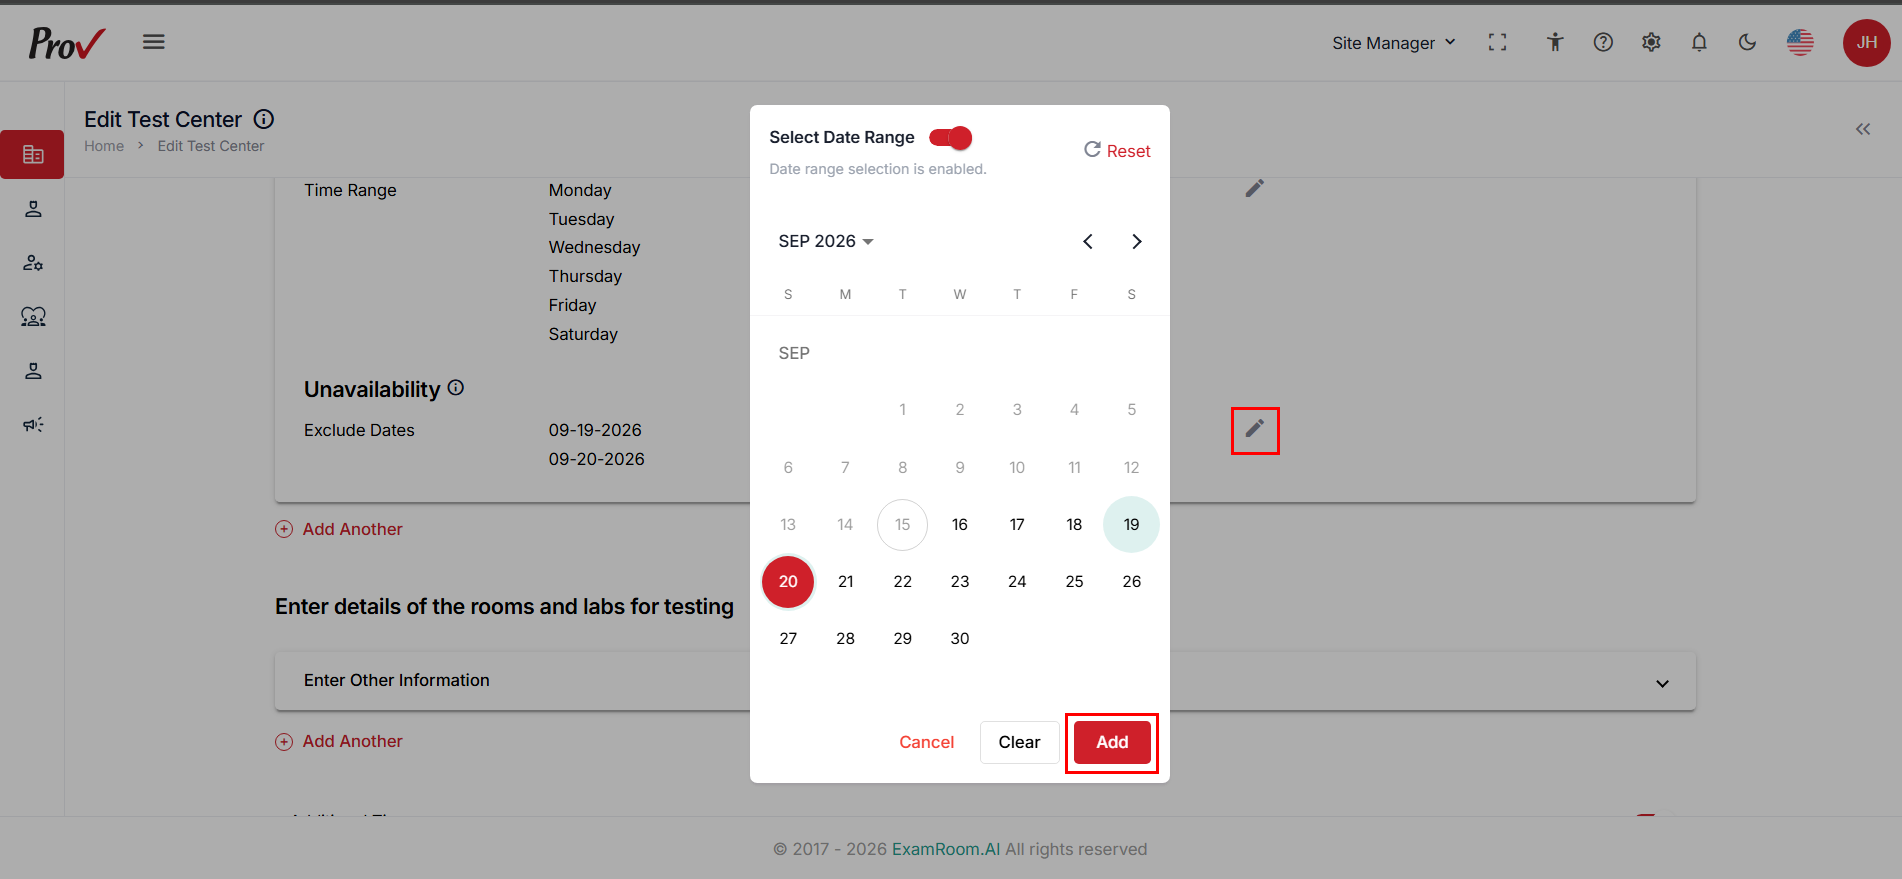
- Click the Exclude Date Calendar icon.
- To select a specific date, click on the desired Date in the calendar. Clicking the same date again will clear the selection.
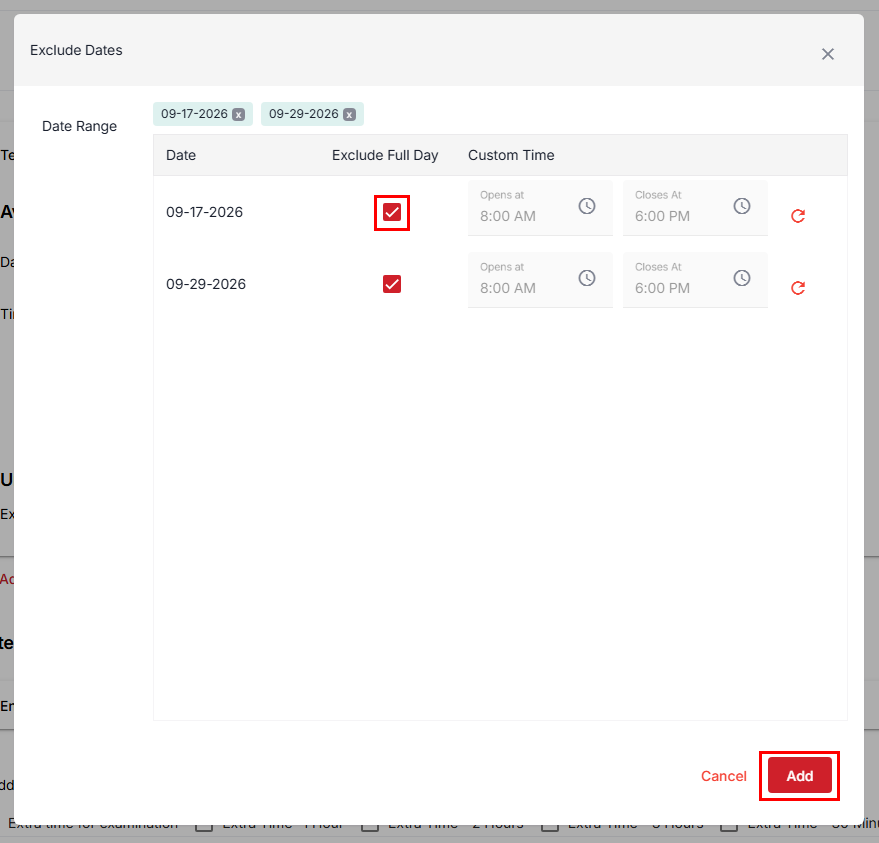
- Click the Add button or click Cancel to discard.
- Click the Check Box to choose the default full-day testing window.
- To select a different testing time, set the time in the “Opens at” and “Closes At” fields using the drop-down menu.
- Click the Add button.
- If necessary, click Add Another to include additional testing dates for availability and unavailability.
- After updating, go to the last page and click Submit to finalize and submit the required information changes. To learn more about updating or changing other details in the test center, follow the steps outlined in the Add Test Center section.